A well-sealed, properly insulated attic is one of the highest-impact upgrades for comfort, lower energy bills, and extending the life of HVAC equipment. Whether you’re a homeowner tackling a weekend project or a contractor preparing for a retrofit, this guide gives a clear step-by-step air-sealing checklist, compares insulation choices, explains attic ventilation balance, and offers practical blower-door testing tips.
Why attic air sealing and insulation matters
Heat and moisture migrate through the building envelope at the attic plane. Unsealed gaps allow conditioned air to escape in winter and hot air to enter in summer, increasing energy use and risking moisture problems. Air sealing reduces drafts and stack effect, while the right insulation increases the thermal resistance (R-value) of the attic floor or roof assembly. Together they improve comfort, reduce utility bills, and limit condensation and ice dam risk.
Step-by-step attic air-sealing checklist
We recommend working methodically. Follow this sequence for an efficient, safe air-seal effort.
1. Prep and safety
- Turn off or isolate circuits if you’ll be working near wiring; treat all electrical work with caution and consult an electrician for in-box connections.
- Shut off or have a qualified tech inspect gas appliances if you will alter their combustion air paths—don’t compromise combustion safety. A combustion appliance zone (CAZ) test may be required.
- Wear PPE: N95 or respirator, gloves, eye protection. Use a stable ladder and watch for truss plates and weak flooring; walk only on joists or installed walkways.
2. Identify common leakage locations
Start from most common to least:
- Attic access (hatches and pull-down stairs)
- Top plates where walls meet the attic floor
- Recessed lighting and fixtures (IC-rated downlights are still leakage points)
- Plumbing stacks, flues, and chimneys
- Duct boots, HVAC penetrations, and dryer vents
- Electrical and cable penetrations, conduit and wiring chases
- Soffit and dropped ceiling chases
3. Seal small gaps and cracks
- Use latex or silicone-acrylic caulk for cracks under 1/4″ and for gaps around top plates and trim.
- Install gasketing or foam weatherstripping around attic access doors.
4. Seal larger gaps and penetrations
- Apply low-expansion spray foam for 1/4″–1″ gaps; use larger-fill spray foam or backer rod for bigger openings.
- For chimney and flue penetrations, use non-combustible fire-sealing where required and follow clearance-to-combustibles rules—consult local code or a pro.
- On duct boots and irregular openings, use mastic for ducts and closed-cell foam or sheet metal collars where durability is needed.
5. Fireblocking and smoke pathways
- Install fireblocking at top plates and where concealed vertical cavities meet the attic—use approved materials for fireblocking.
- Ensure attic hatch is insulated and fire-rated if required by local code.
Insulation options and how to choose
Choose insulation based on existing construction, desired R-value, budget, and access. Below is a compact comparison to help decide.
| Type | Typical R/inch | Pros | Cons | Typical installed cost |
|---|---|---|---|---|
| Fiberglass batts | ~3.0–3.7 | Low cost, DIY-friendly | Prone to gaps if not fitted; loses performance when compressed | typically about $0.30–$0.80/ft² |
| Blown cellulose | ~3.2–3.8 | Good coverage around obstructions, recycled content | Settling over time; needs proper depth | typically about $0.60–$1.50/ft² |
| Open-cell spray foam | ~3.5–3.7 | Air control and insulation in one; adheres to surfaces | Vapor-permeable, absorbs moisture; mid-cost | typically about $1.50–$3.00/ft² |
| Closed-cell spray foam | ~6.0–7.0 | High R-value per inch; moisture and air barrier | Higher cost; must manage thermal bridging | typically about $2.00–$4.50/ft² |
| Rigid foam board | ~3.8–5.0 | Good for continuous insulation and roof decks | Seams must be sealed; installation cost varies | typically about $1.00–$3.00/ft² |
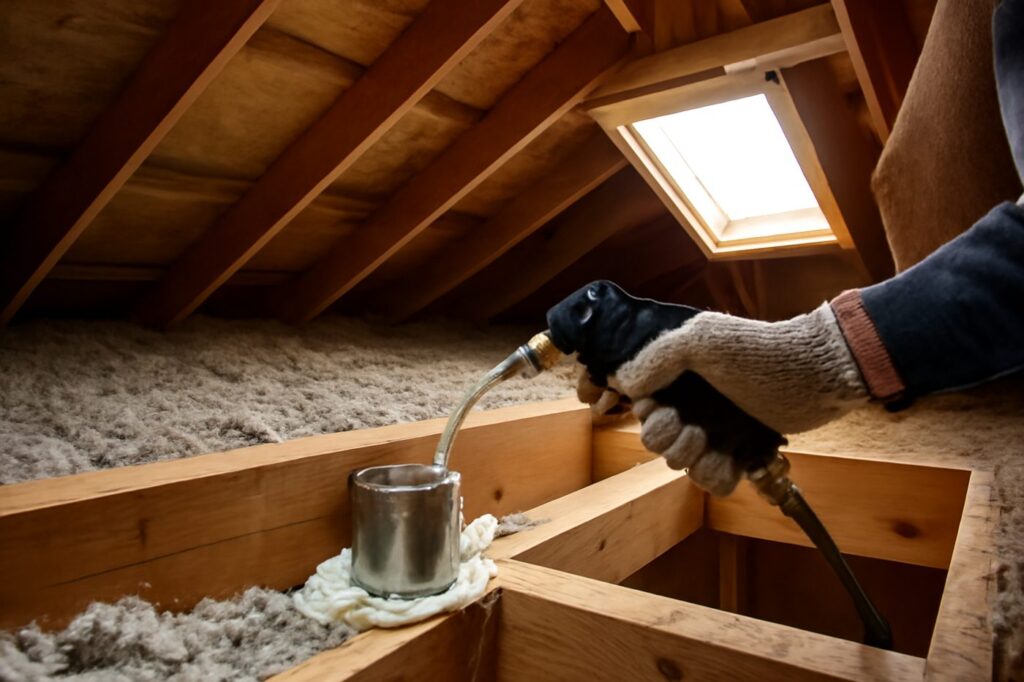
For most attic floor retrofits, adding blown cellulose or fiberglass over air-sealed joists is cost-effective. For roof assemblies or when creating conditioned attics, spray foam or rigid insulation is often the better choice.
Balancing attic ventilation
Air sealing should be coordinated with ventilation so you don’t trap moisture or create pressure imbalances.
Principles to follow
- Maintain continuous intake at the eaves/soffits and exhaust at the ridge or high roof vents; aim for balanced net free area.
- Install baffles (rafter vents) at each soffit bay so insulation cannot block the vent path.
- Avoid closing off soffit vents unless converting the attic into a conditioned space and insulating the roof deck instead.
- Be cautious with powered attic fans; they can depressurize the house and pull combustion gases into living spaces.
Blower-door testing tips for homeowners and contractors
Blower-door testing quantifies whole-house leakage and helps guide where to focus air sealing.
Pre-test checklist
- Close all exterior windows and doors, open interior doors, and turn off forced-air systems and humidifiers. Seal fresh-air intakes if directed by the tester.
- Prepare a list of known penetrations and safety-sensitive systems (combustion appliances).
- Inform occupants about noise and minor pressure perception during testing.
During the test
- Use a smoke pencil or theatrical smoke to trace leaks at common locations identified earlier.
- Perform a zone pressure test if you suspect a particular area (e.g., kitchen, basement) is a major leak source.
- Document leakage locations with photos and notes; rank them by estimated leakage area and ease of repair.
Interpreting results and targets
Air leakage is reported as ACH50 (air changes per hour at 50 Pa) or CFM50 per square foot. Targets vary by project type:
- Whole-house retrofits typically aim for about 3–5 ACH50 to see significant efficiency gains while balancing cost.
- New tight construction often targets about 1.5–3 ACH50; high-performance standards go much lower (Passive House is about 0.6 ACH50).
- Use results to prioritize sealing—large volume leaks like attics, ducts, and top plates usually yield the biggest improvements per hour of work.
Follow-up testing
Re-test after major sealing or insulation work. A series of before-and-after blower-door results quantifies savings and validates workmanship for both contractors and homeowners.
Conclusion
Effective attic air sealing, correct insulation selection, and proper ventilation balance together deliver durable comfort and real energy savings. Start with a systematic checklist: prep safely, seal common leak locations, choose the insulation that fits your assembly, and verify results with blower-door testing. With careful planning and adherence to safety—especially around wiring and combustion appliances—we can make attics a strong, efficient part of the building envelope.