Thermal bridging is one of the quiet, costly problems in buildings: it lets heat bypass insulation through conductive elements like metal, wood framing, and concrete. Addressing thermal bridges improves comfort, reduces energy bills, and lowers condensation and mold risk. We’ll explain how thermal bridges form, where to look for them, and practical steps to fix them on both new builds and renovations.
What is a thermal bridge and why it matters
A thermal bridge is a path of higher heat flow through the building envelope where insulation is interrupted or less effective. Common conductive materials—metal fasteners, studs, concrete slabs, and balcony connectors—transfer heat much faster than surrounding insulated assemblies. Even a small percentage of bridging can erode the effective insulation value of a wall or roof.
Common problem areas
Recognizing typical hot spots helps target fixes. Look for these areas during a visual inspection, or use diagnostic tools like infrared cameras or blower door tests to confirm.
- Framed walls and ceilings: Studs, top plates, and headers create linear thermal bridges where insulation is thinner or compressed.
- Rim joists and floor edges: The connection between the floor system and exterior allows heat escape, and cold air infiltration often follows the same lines.
- Windows and doors: Poorly insulated frames, metal flashing, and uninsulated sills create perimeter bridging.
- Balconies and cantilevers: Structural connections from interior to exterior bypass envelope insulation and are major sources of heat loss and condensation.
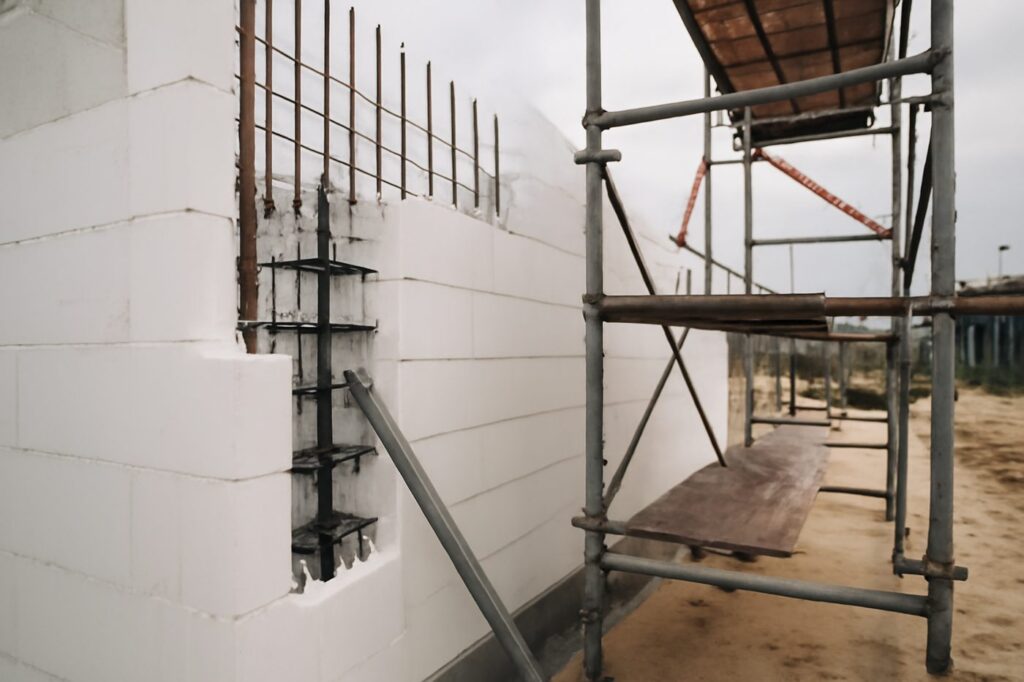
- Hard surfaces and slabs: Concrete foundations, slab edges, and masonry walls conduct heat into the ground or exterior.
- Service penetrations and fasteners: Recessed lights, electrical boxes, and continuous metal wall ties are small but widespread sources.
How to assess thermal bridging (step-by-step)
- Do a visual walk-through. Look for cold spots on interior walls, condensation, or frost on exterior elements in winter.
- Use simple tools. An infrared camera or thermal imaging add-on can reveal temperature differentials. A moisture meter helps identify damp areas tied to cold surfaces.
- Run a blower door test. This identifies air leakage paths that often coincide with thermal bridges, and quantifies envelope tightness.
- Prioritize by impact and cost. Tackle bridges that are easy to access and influence the most area—rim joists, attic-wall junctions, and window perimeters are often high-priority.
- Confirm with professionals when needed. For structural connections, penetrations around chimneys, or where combustible gas or electrical systems are present, consult a licensed contractor or engineer.
Practical fixes: continuous insulation and thermal breaks
Treatment strategies fall into two categories: add continuous insulation to cover the bridge, or interrupt the conductive path with thermal breaks. Often a combination works best.
Continuous exterior insulation (exterior rigid or mineral wool)
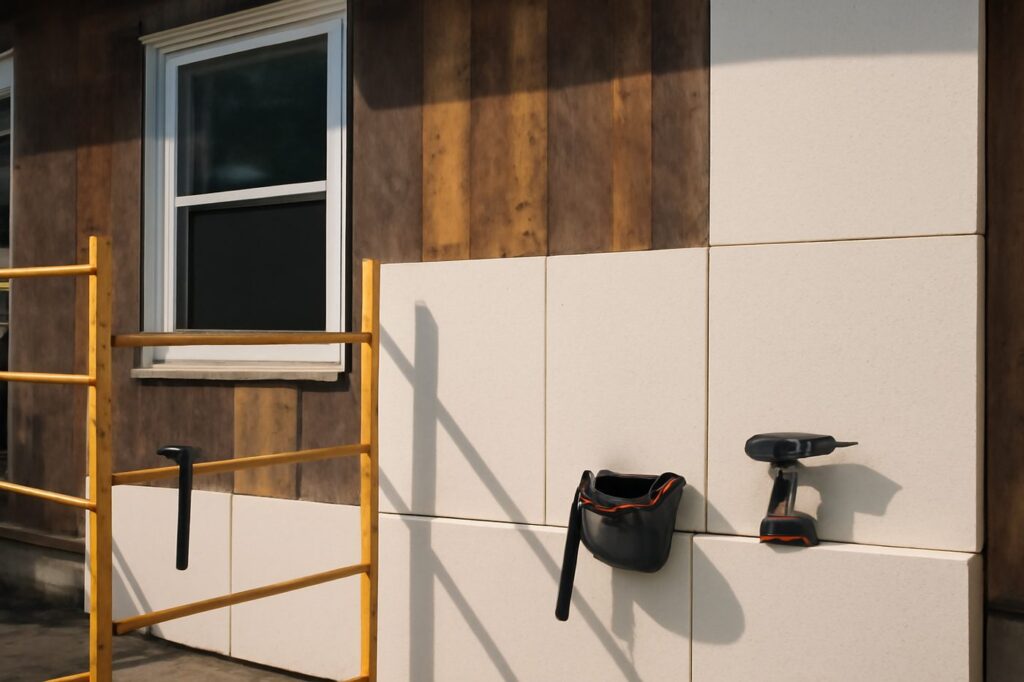
- Apply rigid foam (polyiso, XPS, EPS) or mineral wool board over the studs and exterior sheathing to create an uninterrupted thermal layer.
- Thickness choice depends on climate and climate code goals; typical retrofit thicknesses range from about 1″ to 3″ or more to provide meaningful R-value.
- Finish with appropriate cladding, furring strips, and weather-resistive barrier to maintain drainage and ventilation as required.
Interior continuous insulation
When exterior work is impractical, interior insulated sheathing or drywall with rigid board can reduce bridging. Work around electrical boxes, baseboards, and trim requires careful detailing to maintain function and aesthetics.
Thermal breaks at structural connections
- For balconies, cantilevers, and metal connectors, thermal break hardware or insulated connectors interrupt the conductive path. Retrofitting existing balconies can be complex and typically requires access from both inside and out; these projects can range from relatively inexpensive repairs to extensive reconstruction depending on condition.
- For masonry-to-frame connections, install continuous insulation over the masonry or use thermal isolator strips where attachments penetrate the insulated layer.
Targeted air sealing and cavity insulation
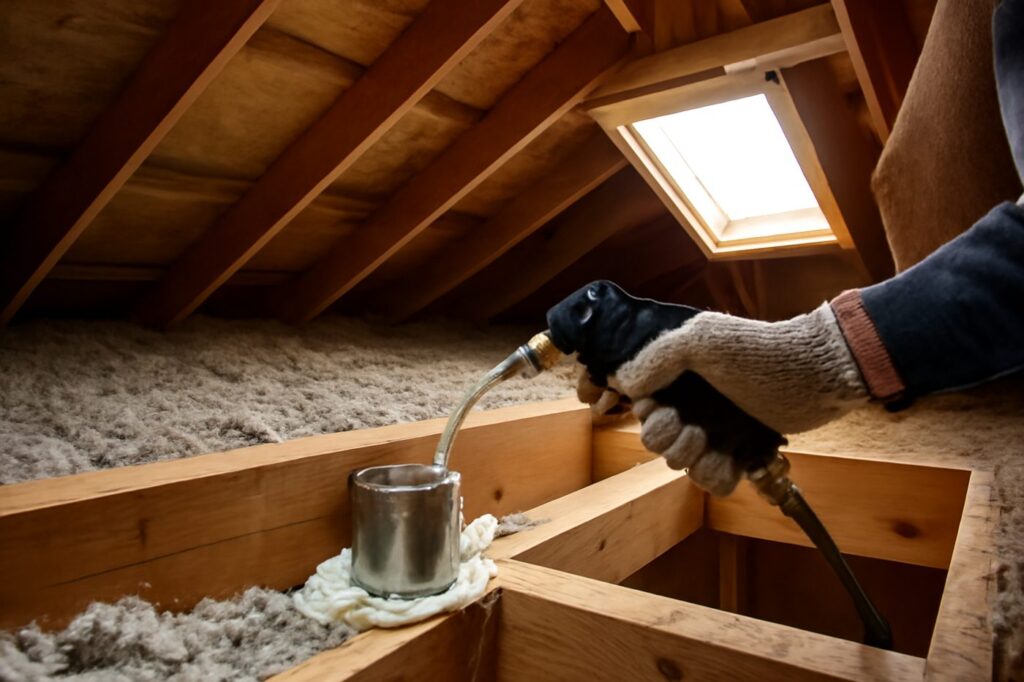
- Seal gaps around windows, doors, duct penetrations, and rim joists with low-expansion spray foam or caulk to stop convective heat transfer that aggravates thermal bridges.
- Insulate rim joists with spray foam (closed-cell for high moisture control or open-cell with a vapor management strategy) or fit-cut rigid foam into bays and seal edges.
Specific repair steps for common situations
Rim joists and band joists
- Remove interior trim where needed and clean the cavity.
- Apply closed-cell spray foam (for vapor control) or install cut pieces of rigid foam sealed with spray foam or caulk.
- Reinstall trim and ensure vents and mechanical penetrations are properly sealed.
- Safety note: if working near electrical wiring, shut off power to circuits before cutting or drilling and follow local electrical codes.
Window perimeters
- Remove interior trim carefully.
- Apply low-expansion spray foam between the jamb and framing, then trim flush when cured.
- Improve exterior continuity by adding exterior insulating jamb extensions or continuous exterior insulation and properly flashing the reveal.
- Safety note: ensure window flashing maintains drainage to avoid trapping moisture behind exterior insulation.
Costs and trade-offs
Costs vary with materials, labor, building size, and access. Typical ranges:
| Measure | Typical cost range |
|---|---|
| Continuous exterior insulation (installed) | typically about $8–$20 per sq ft |
| Rim-joist insulation & air sealing (whole house) | typically about $500–$2,000 |
| Targeted spray foam for cavities (per project) | typically about a few hundred to a few thousand dollars depending on area |
Investment decisions should weigh reduced energy use, improved comfort, reduced condensation risk, and long-term durability. For major structural or envelope changes, consult a professional for a scope and estimate.
When to call a professional and safety considerations
Call a qualified contractor or building scientist for complex or risky jobs, including:
- Balcony retrofit or modification (structural work requires engineering review).
- Work near gas flues, combustion appliances, or chimneys—improper sealing can create backdrafting hazards.
- Any electrical work—turn off power and consult a licensed electrician for modifications around wiring.
- Major changes to roof, wall, or foundation assemblies that affect moisture management or load paths.
Conclusion
Tackling thermal bridging is one of the most effective ways to raise building performance without completely replacing systems. Start with inspection, prioritize visible high-impact locations, and combine continuous insulation with thermal breaks and good air sealing. Simple measures—insulating rim joists, sealing window perimeters, and adding exterior continuous insulation—deliver noticeable gains in comfort and energy savings. For structural or safety-sensitive work, bring in specialists to ensure lasting, code-compliant results.