
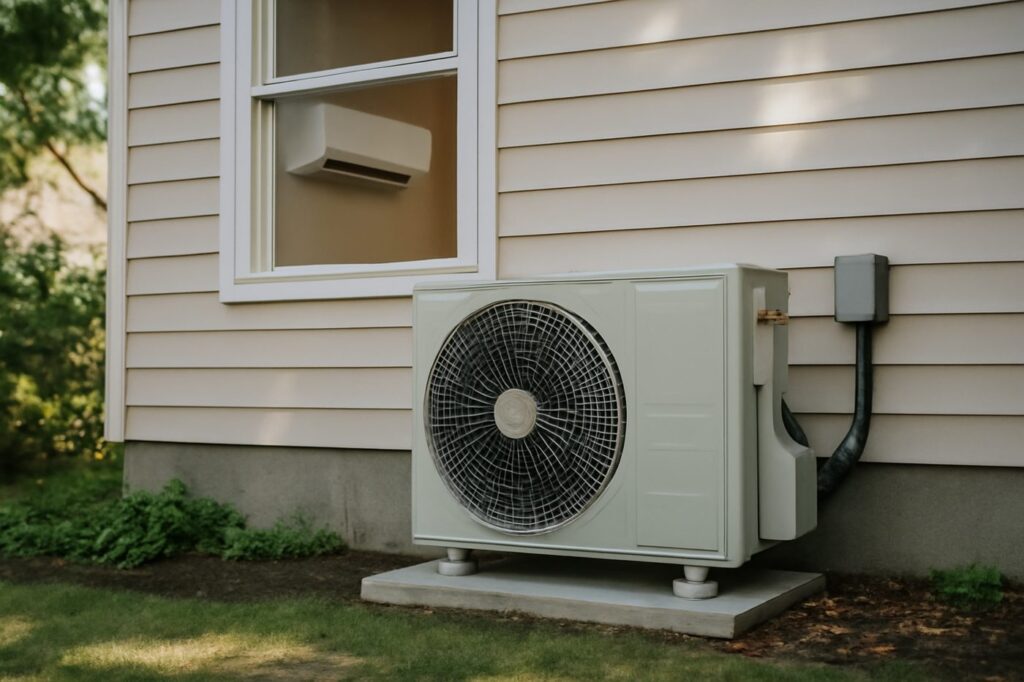
Heat pumps are one of the most effective ways to heat and cool a home with electricity. They move heat rather than create it, which can produce comfortable indoor temperatures at lower operating cost than resistance heating. Choosing the right unit and having it installed correctly are key to performance and long-term satisfaction.
How heat pumps work — a quick primer
Heat pumps extract heat from outside air (or the ground) and transfer it indoors in winter, then reverse the process to cool in summer. Air-source heat pumps are the most common for homes. Ground-source (geothermal) systems are more efficient but costlier to install. Understanding this basic cycle helps when evaluating models, efficiency ratings, and installation needs.
Sizing your heat pump: practical guidance
Correct sizing is critical. Oversized equipment short-cycles, reducing comfort and efficiency. Undersized units struggle to meet demand and run continuously. We recommend the following steps to size a system properly:
- Start with a load calculation: a Manual J (or equivalent) from a qualified HVAC contractor accounts for local climate, insulation levels, window area and orientation, ceiling heights, and infiltration.
- Use the load result to pick a unit whose rated capacity closely matches the calculated heating and cooling loads at design conditions.
- Consider heat pump capacity decline in cold temperatures: in colder climates, ensure the unit’s low-temperature capacity or choose a cold-climate model or a supplemental heat strategy.
- Account for multi-zone needs: larger homes often perform better with multiple indoor units or a multi-zone ducted system rather than one oversized unit.
As a rough rule of thumb, air-source heat pumps typically provide about 30–60 BTU per square foot of living space in moderate climates, but this varies widely with insulation and climate. For a more useful number in metric terms, that’s roughly 9–18 W per square foot. Always confirm with a formal load calc.
Ducted vs. ductless: tradeoffs and where each fits
Choosing between ducted and ductless systems depends on your house layout, ductwork condition, aesthetic preferences, and budget. Here are the main tradeoffs:
- Ducted systems use existing ductwork or new ducts to distribute conditioned air from a central unit.
- Ductless mini-splits place compact indoor heads in each zone connected to an outdoor compressor via small refrigerant lines.
| Feature | Ducted | Ductless (mini-split) |
|---|---|---|
| Typical installation cost | About $8,000–$25,000 for whole-home systems | About $3,500–$8,000 per zone (single head), multi-zone adds up |
| Installation disruption | Higher if new ducts required; more invasive | Lower — small penetrations and surface mounts |
| Efficiency at delivering conditioned air | Good if ducts are sealed and insulated | Very efficient at the zone level with minimal distribution loss |
| Best for | Homes with existing ducts or multi-room central control | Homes without ducts, additions, or room-by-room control |
Other considerations:
- Duct losses: poorly sealed or uninsulated ducts can reduce overall efficiency. Repairing or sealing ducts can be a cost-effective first step.
- Aesthetics and placement: mini-split heads are visible on walls or ceilings; ducted units are mostly hidden.
- Scalability: ductless systems allow staged installation by adding zones over time.
Efficiency metrics to understand
When comparing models, look beyond marketing claims and focus on standardized efficiency metrics:
- SEER (Seasonal Energy Efficiency Ratio) — measures cooling efficiency across a season. Higher is better. Typical modern systems range about 14–22 SEER.
- HSPF (Heating Seasonal Performance Factor) — measures heating efficiency for air-source heat pumps. Typical values are about 7.7–10 HSPF for standard models; cold-climate models may offer higher useful heating capability at low temperatures.
- COP (Coefficient of Performance) — instantaneous heating efficiency (heat out divided by electrical input). COPs vary with outdoor temperature; typical COPs at moderate outdoor temps are about 2.5–4.5.
When comparing units, check the certified rating for the climate that matches your location. Higher SEER and HSPF generally mean lower operating costs, but initial cost and real-world performance (proper sizing and installation) matter more than incremental rating differences.
Navigating costs, incentives, and financing
Upfront costs vary widely based on system type, size, retrofit complexity, and region. Typical ranges are provided above, but plan for the upper end if ducts need replacement or structural work is required.
To navigate incentives and get the best financial outcome:
- Gather information about local utility rebates, state or federal tax credits, and municipal incentive programs. The installer should help identify qualifying models and required paperwork.
- Confirm pre-approval requirements before signing contracts — some programs require pre-inspection or approval.
- Collect documentation during installation: equipment model numbers, contractor invoices, proof of permits, and commissioning reports — these are commonly required for rebates.
- Consider financing options: low-interest loans for energy improvements, on-bill financing, or specialized green improvement loans. Compare total cost over the loan term.
Safety note: if converting from gas heating, verify combustion appliance shutoff procedures, venting, and carbon monoxide safeguards. Disconnecting or decommissioning gas equipment should be done by a licensed professional.
Choosing and working with an installer
Good installation matters more to long-term satisfaction than picking a particular model. Use this practical checklist when vetting contractors:
- Ask for a Manual J (load) and Manual S (equipment selection) as part of the proposal — not just a square-foot rule of thumb.
- Request at least three written quotes that list equipment models, capacities, efficiency ratings, labor, permits, and warranty details.
- Verify licensing, insurance, and local code compliance. Check references and recent installs in homes similar to yours.
- Clarify who performs electrical upgrades or panel work if needed, and who pulls permits.
- Confirm commissioning procedures: refrigerant charge verification, airflow measurements, and system controls setup.
Safety note: refrigerant handling requires certified technicians; do not attempt DIY refrigerant work. Electrical work should be performed by licensed professionals. For structural changes (roof or wall penetrations), confirm that mounting and flashing meet building standards to avoid leaks or load issues.
What to expect during installation
Typical installation steps and timelines:
- Site visit and load calculation review (1 visit).
- Permitting and ordering equipment (1–3 weeks depending on permit and delivery).
- Installation: mini-split single-zone often 1 day; multi-zone or ducted installations commonly 2–7 days depending on complexity.
- Commissioning: technician verifies refrigerant charge, sets controls, balances airflow, and walks through operation with you.
- Follow-up: plan for a service check after the first heating season to confirm performance and address tweaks.
Expect some minor interior work (mounting indoor heads, small wall penetrations) and exterior work (compressor pad, line set routing). Plan for temporary disruption to normal routines and protect floors and furniture during work.
Conclusion
Choosing and installing a heat pump involves balancing accurate sizing, the right system architecture (ducted vs ductless), understanding efficiency metrics, and working with qualified installers while taking advantage of incentives. We recommend starting with a reputable contractor who provides a proper load calculation and clear, itemized proposals. That approach helps ensure long-term comfort, efficient operation, and good value for your investment.